It's been a couple of weeks since I've been home but it's taken me that long to write this post and get pictures taken.
QuiltCon was AMAZING! I was so grateful my hubby could stay home for a few days to watch the baby so I could go. The next one is in 2015 so anybody who couldn't go this year should start saving now!
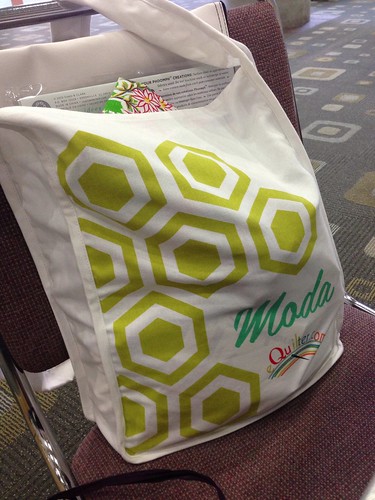
We (I flew and roomed with my lovely friend Michelle who needs to put a post on her blog so I can link to it, lol ;) ) got to the Convention Center early Thursday to check in with the registration desk and we got a HUGE goody bag with lots of fun stuff! Fabric, thread, lots of flyers, a project pouch... it weight at least 10 pounds.
I started the day with a workshop with Mary Fons of Fons & Porter fame. The class description said "Learn patchwork fundamentals as you make a darling, super basic Churn Dash block — or two! Also discover excellent tips for teaching beginning quilters of any age or background." (from quiltcon.com). I thought maybe I could pick up some good info since I'm basically a self-taught quilter, but I already knew everything she said... good that I know the fundamentals but bummed I didn't learn anything new.
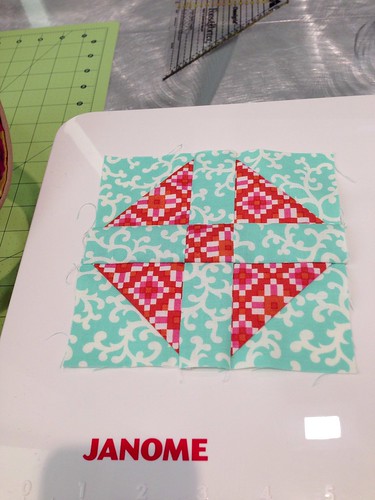
There was a materials fee and we were supposed to get three fat quarters and the Fons & Porter Half and Quarter Ruler. I was disappointed because the fat quarters were most definitely not my style (very traditional fabrics) and we weren't able to take the Half and Quarter Ruler home because she wasn't able to get enough rulers for both of the classes she was teaching. We left our addresses with her so she could mail us the ruler. On the plus side, I brought my own fabric to play with and I really did like the ruler ... I made HSTs that didn't need trimming and my block turned out nicely.
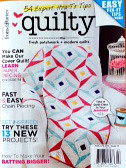
ETA: Mary Fons was unable to get enough rulers for our class so she refunded everyone's materials fee and sent along a free copy of Quilty, her magazine! I thought that was really great of her!
Thursday afternoon I didn't have a workshop, so I wandered through the quilt show and vendors with friends. There were some beautiful quilts hanging in the show!
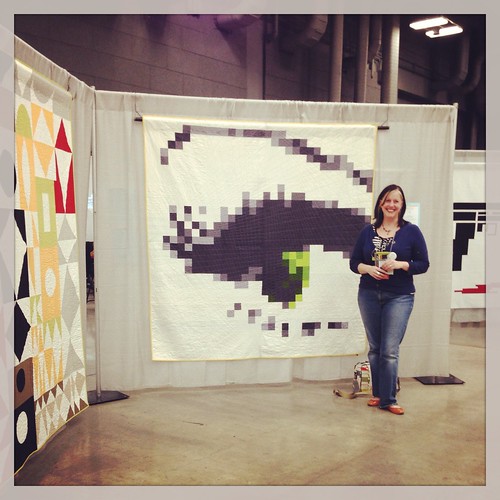
It took me a bit to see the image in this pixelated quilt. I was standing too close! A passerby suggested I move back, and I still couldn't see it until I looked at it through my camera. That's when I saw the beautiful eye... and really understood the amazing quilt I was looking at! Then, the owner of this awesomeness happened to walk by so I snapped a picture of her with her work! The quilt is called Don't Blink, and it was made and quilted by
Caro Sheridan. That's Caro up there!
Friday was SUCH a good day! I was particularly excited to be in
Lizzy House's Mini Quilt class, mostly because she's one of my favorite designers. She's so passionate about art in all forms and it showed when she was talking about quilting and design. It makes her work even more meaningful!
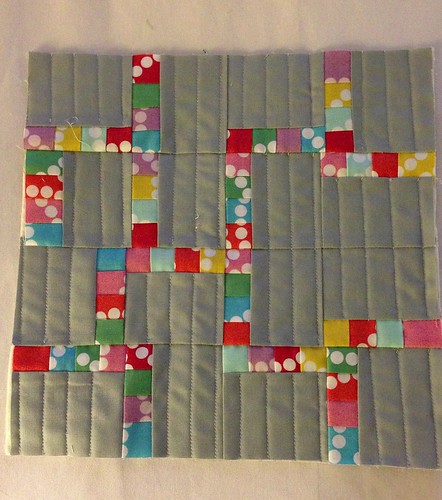
She led us through several design exercises to get our creative juices flowing. I found them really helpful and ended up designing, piecing, and quilting this mini:
It measures about 11 inches square and it came out exactly as I'd envisioned. I actually have had this pattern in mind for a couple of weeks now and am interested in making it in a much larger size. The math was a bit tricky but worth it in the end!
I sat next to Rachel from
Stitched in Color and we chatted about everything from her online classes to homeschool. She's very friendly and it's always fun to meet somebody from blogland!
Saturday morning I was in
Lotta Jansdotter's Textile Printing workshop. Originallly I enrolled this class because I was mildly interested and thought it sounded fun. OH MY GOSH it was so awesome!!
Lotta started by sharing her story of how she came into textile design and then she demonstrated carving and using a stamp.
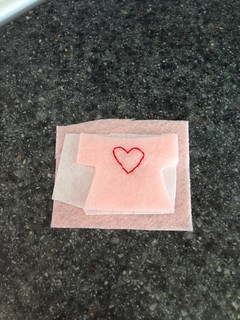
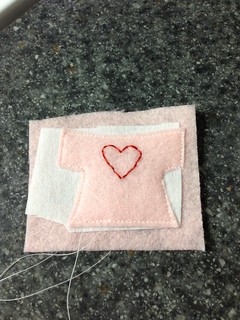
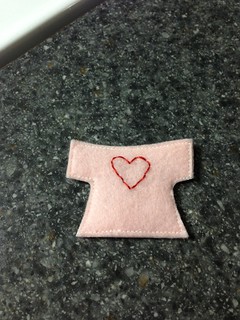
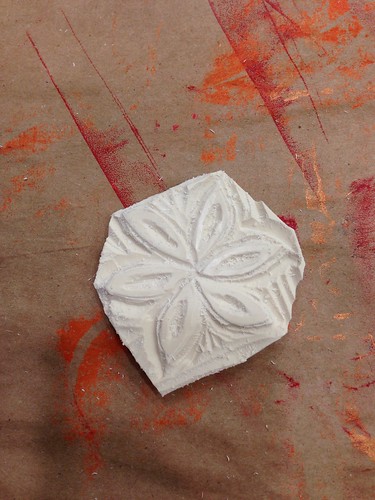
I went back to my seat with zero idea of what to do so I just started sketching.... one thing I've learned, especially this weekend, is that ideas don't just pop into my head. I need to see/create the evolution of an idea on paper. So that's what I did and ended up carving this stamp:
I did some stamping and we also created our own stencils... this workshop was only for the morning (and it went so fast) but I could have easily worked on these all day!
Saturday afternoon I ate some yummy barbecue and wandered the quilt show with friends again. I also sat in on a fabric design panel featuring Kim Kight, Kathy Miller from Michael Miller Fabrics, Laurie Wisbrun, a rep from Robert Kaufman Fabrics, and Amy Butler. It was very interesting to hear about the design process from the two designers as well as the production process from the fabric companies. This lecture and several others are available on
Craftsy. I also met Laurie that evening and chatted with her about the panel... she was so nice!
By Saturday night I was pretty homesick. It was hard to not see Emma for five days when I spend pretty much every waking moment with her.
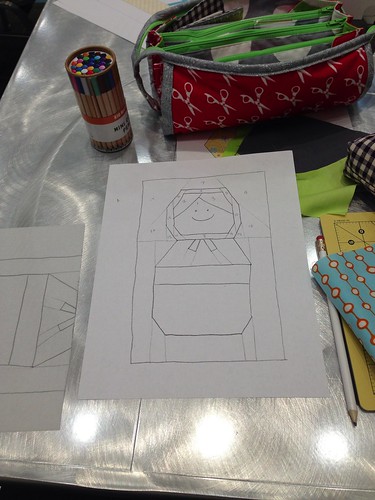
Sunday I had an awesome paper piecing class with my lovely friend
Penny and her assistant, my lovely friend
Tara! This was a design class, so the participants designed their own blocks and began piecing them. I spent a long time staring into space thinking about my design and finally got it down on paper. I'm excited to finish piecing this block!
The organizers of the event did an amazing job. Thanks to them and to Austin for being a great host city. Can't wait til next time!
If you're thinking of going (and you should!), here are my top three QuiltCon tips:
1. It's so fun to go with friends, but make sure you make new friends too! I met some very sweet people at QuiltCon.
2. Don't be afraid to try something new! I didn't expect Textile Printing to be as much fun as it was. I'm so glad I signed up for it!
3. Pack an extra bag to bring home all your loot. ;)