
- Front Cover Page (includes Emma's name and buttons)
- Zipper Page (Emma loves zippers!)
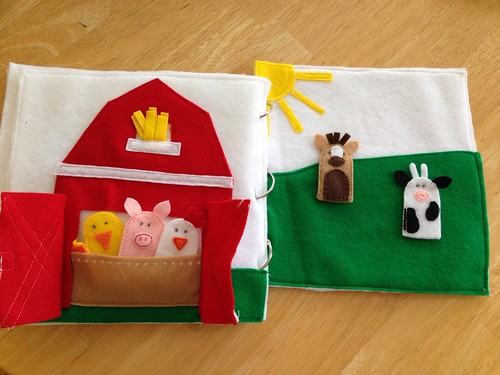
- Barn and Barnyard (two page spread)
- Felt doll and dress up clothes
- Shape Page
- Color Matching Page (with flowers and snaps)
- Back Cover Page (embroidered with the year)
Other notions I bought include buttons, snaps, binder rings, and velcro. (I originally intended to use the buttons on an interactive page but scrapped that idea and used them on the front cover instead.) My embroidery floss stash also got a workout with this project!
My pages are 10x10, but I've seen them made in all different sizes. As far as templates, here is a list of what I used and made:
- Barn, barnyard, and finger puppets: I used the templates from Sunshine, Lollipops, and Rainbows
- Felt doll and dress up clothes: I drew a doll inspired by this tutorial and freehanded the clothes.
- Shape page: I printed some shapes using Microsoft Word and used those as templates. (I did the same with Emma's name on the front cover.)
- Color matching flowers: Used the template from Sunshine, Lollipops, and Rainbows (link above).
- I used scotch tape to tape the templates to the felt and cut around them. They stayed put and it made it really easy to get crisp cutting lines in the felt. I also leave the tape on the paper template, which laminates it in a way and makes it easy to use repeatedly.
- Label your template pieces before you cut them out! That makes it easier to distinguish them should you want to use them again. I note what the piece is, how many to cut out, and from what color.
- All my used templates are now stored in Ziploc bags in case I need to replace any pieces or want to make another book.
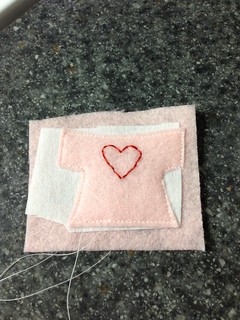
- I used a layer of interfacing between two layers of felt for removable pieces. This made the pieces less floppy. (see pictures below)
- I also used interfacing between felt pages that were sewn back to back. Cut these pieces 1/2 inch smaller than your pages. My pages measure 10x10, so I cut my interfacing 9.5x9.5.
- GO SLOW when sewing your pages back to back! Pinning didn't work well for me (um, I actually didn't try it, lol) and sewing at a moderate speed produced uneven edges. Sewing slowly ensured my pages looked nice!
- Binder rings made it easy to bind the pages, and it will be simple to remove/add pages in the future. I originally intended to use grommets but ran out of time (I finished it at midnight the night before our trip, lol) so I just cut little slits in the pages.
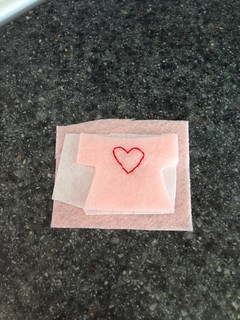
Sew around the piece. Using a piece of felt on the back that is bigger means that shifting will not be an issue while sewing.
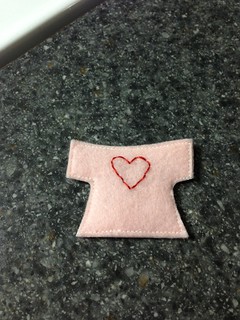
Trim away the excess interfacing and backing felt.


No comments:
Post a Comment