English paper piecing (EPP) is a traditional method to piece a quilt by hand. Fabric is wrapped around paper (or sometimes plastic) templates and basted, and then shapes are joined together to make the quilt top (or project).
EPP is great because it's highly portable and a great project to work on anywhere. I've done several projects with EPP and you can see a couple here and here.
I bought a pack of 3 inch hexagon templates (which means that each side measures three inches) and they seemed massive to me since I'm used to EPPing with 1 inch hexies! I discovered that I needed to use different techniques to wrap the fabric taut enough to get the same crisp lines as a smaller shape and thought I'd share them here.
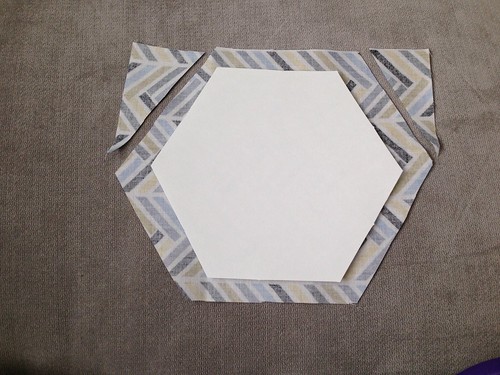
1. Place the template on the fabric (right side down) and cut parallel to the shape's lines about 1/2-5/8" out. With smaller shapes you can use smaller seam allowances, but with shapes this size it's less of a hassle when you have more fabric to work with. Your cutting doesn't have to be perfect.
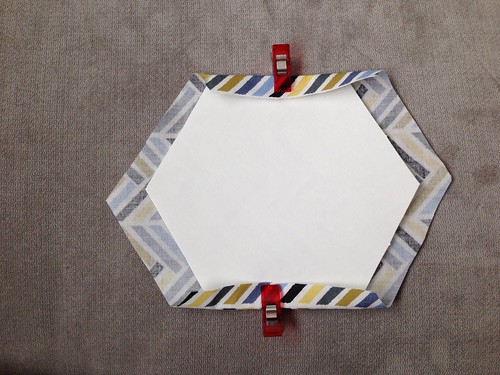
2. Using Clover Wonder Clips (or other binding clips), anchor the fabric at opposite ends of the shape.
With a 1-inch hexagon I would just pin once in the middle, but here that method created too much distortion in the fabric and template, and also left a lot of fabric hanging with nowhere to go.
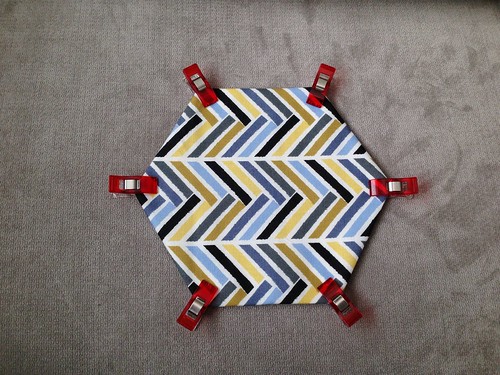
3. Working with one corner at a time, fold the fabric and use clips to hold the fold. Make sure the fabric is taut (but not stretched) across the template.
This might seem like overkill, but it really helps the fabric stay put while you're basting and the shape stays flat, too.
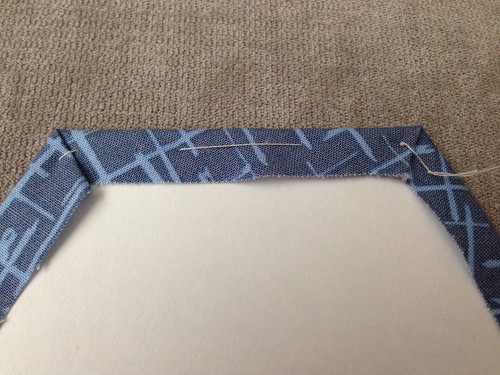
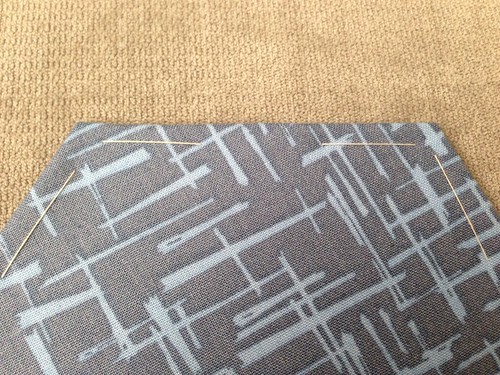
4. To baste the shape, take multiple stitches on each side. In the first picture you can see the knot on the right where I started basting. The second picture is the same shape on the opposite side. Make sure you tack down the corners! A thimble really helps here, too.
4. To baste the shape, take multiple stitches on each side. In the first picture you can see the knot on the right where I started basting. The second picture is the same shape on the opposite side. Make sure you tack down the corners! A thimble really helps here, too.
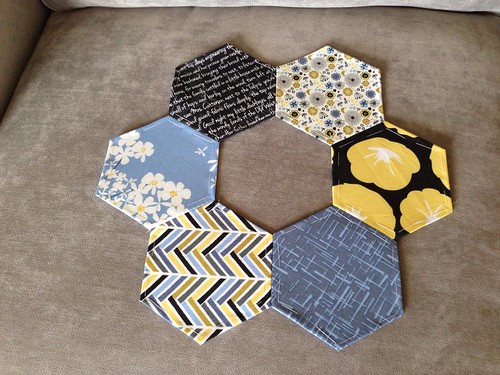
5. Use the Wonder Clips again when you are whip stitching the shapes together. When they are this large it's too easy for them to shift around.

I hope that helps! I assumed some knowledge of EPP when writing this, so let me know if you have any questions. By the way, if you're looking for more projects with EPP, Hexa-Go-Go is one book I've really loved!




Is this just for decoration since there is paper underneath?
ReplyDeleteGreat question! No, once the shape is ironed and starched, then joined together in whatever design/size you want, the paper is pulled out of the back and the project can be quilted just like a regular quilt top, or appliqued onto something. If you're interested in learning we can get together sometime and I'll show you!
ReplyDelete